Drawing

One sentence stories:
„… and so finally, he took the fish.“

Atamayka Daily Drawings - He took the fish / Y por fin, tomó el pescado / und so, hat er sich für den Fisch entschiedenMy cousin will move from Turin-Italy to China at the beginning of 2017. It has gotten me thinking about the early stage in which you move to a new country.

My home country is Venezuela, but i‘ve had to adapt to the U.S.A., Spain and Austria. You have to not only understand a new language, but you also have to learn how to interpret a whole new set of body language signs.

Like when some cultures nod, in what we western people would understand a yes, to mean no.

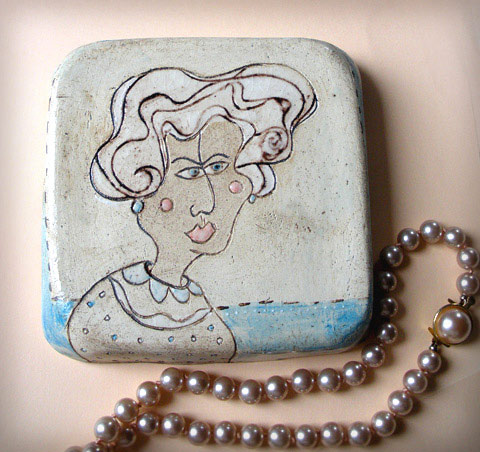
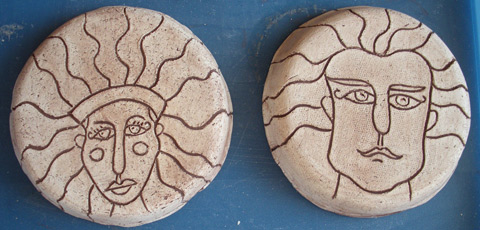
Our intimate moments, deep within our heads, translate into mimics. These gestures are conditioned by cultural and social learning. And they are also read according to our cultural and social backgrounds.

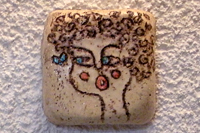
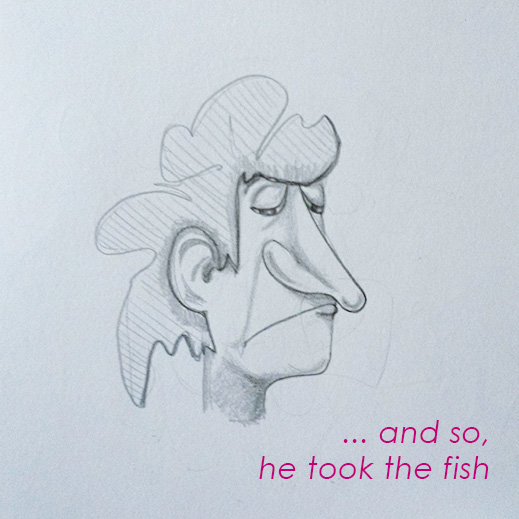
For example, how many interpretations of the face above would we find?

  • Tiredness of living
  • Sadness (maybe because my cousin is leaving Europe 😉  )
  • Dissapointment
  • Trying to listen to what someone is saying in the background
  • Making a decision

I wonder what this face would suggest in Asia or Africa…
Are our cultures so different that we might interpret something totally different?

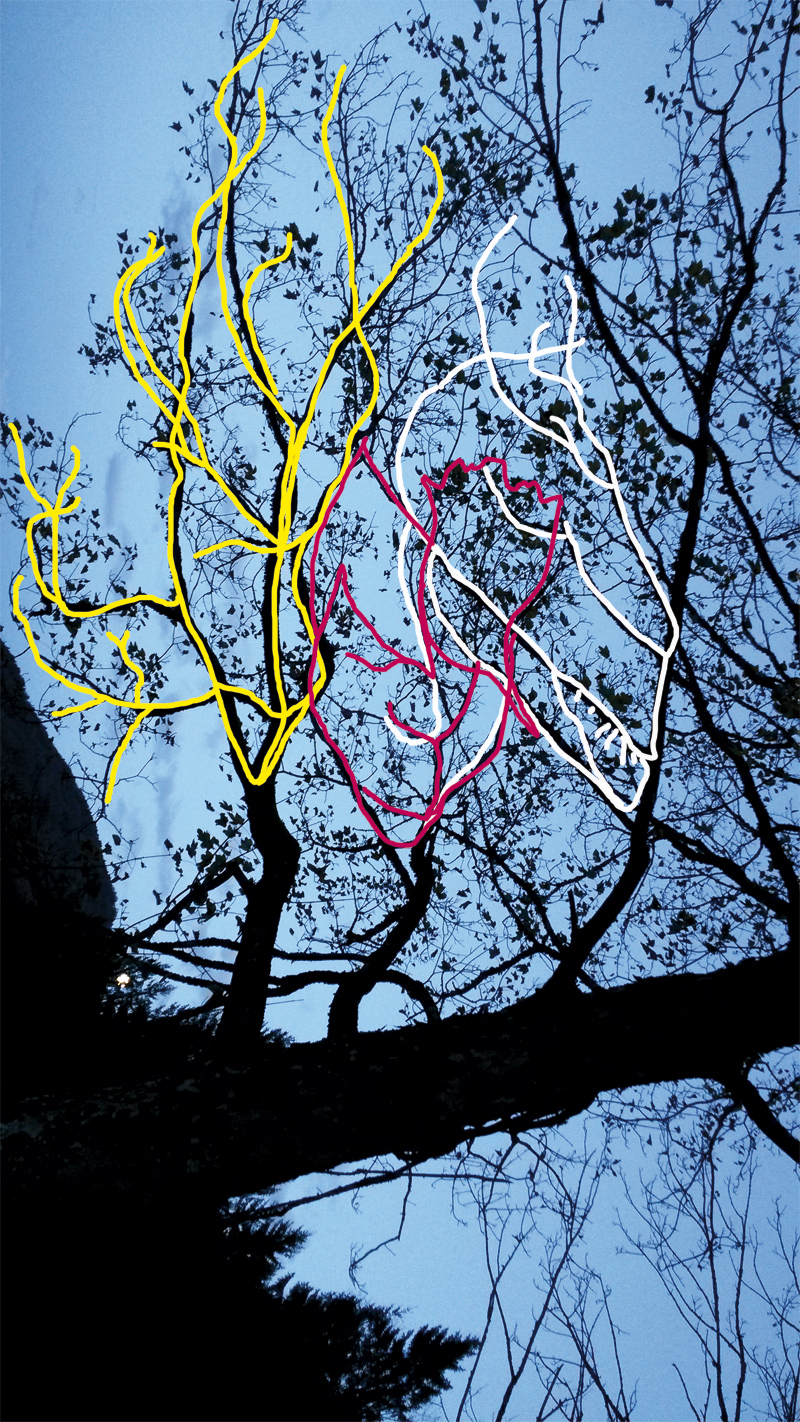
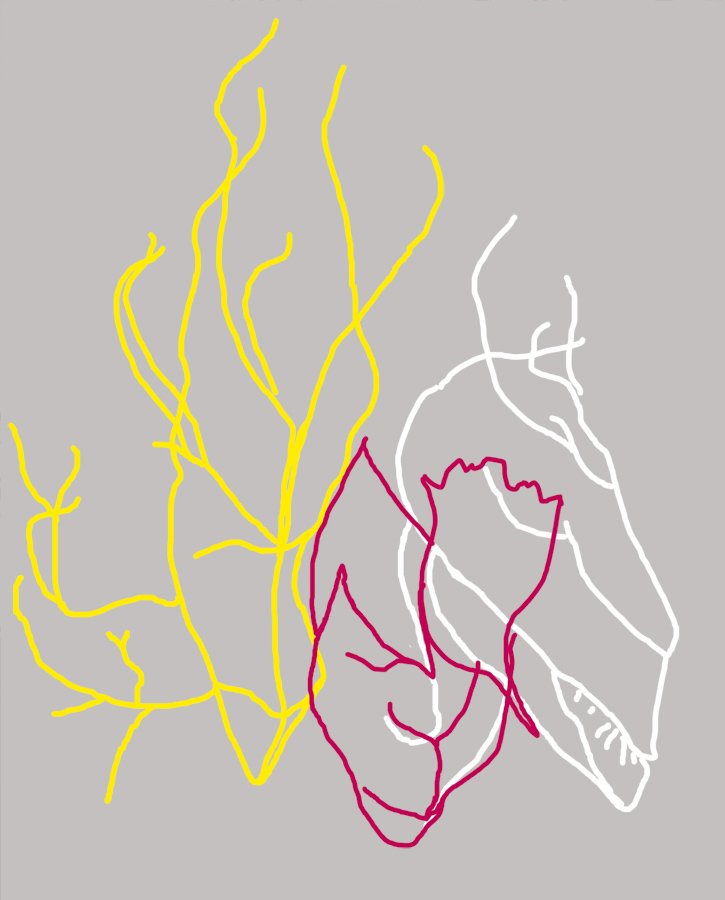
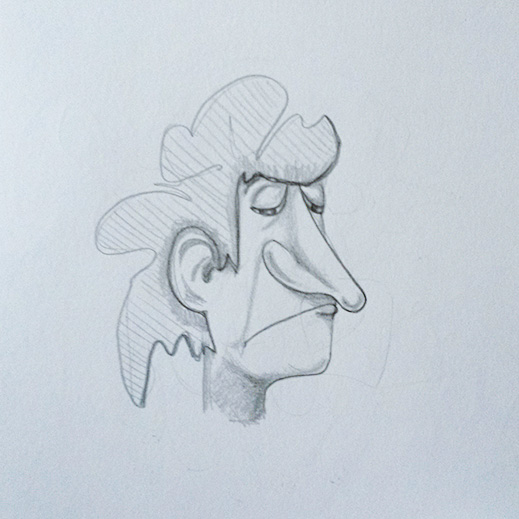
In my case, I was looking at this when I was drawing him…
Atamayka-Paxos-Greece


So, this is my one sentence story:
„and so, he took the fish“


Atamayka Daily Drawings - He took the fish / Y por fin, tomó el pescado / und so, hat er sich für den Fisch entschieden


+ (Note: For inquiries, please contact me at art@atamayka.com) +

Merken

Merken

Photo-Doodle:
What can you find in these tree branches?

Photo-Doodle by Atamayka

Here in Austria there’s a game kids play when they have no toys at hand:
“Ich sehe was, was du nicht siehst (was ihr nicht seht) und das ist..”
Which means:” I see, I see, what you can’t see, and that is…”
Right then, one of the kids complete the sentence with a color of an object near them that the other players don’t know about. They all start naming objects until one of them guesses, and then it’s the winner’s time to make others guess.

I want to play a game with you, but instead of saying a color, I will give you a picture. Let’s see what we all come up with.

I took the picture above on an autumn night two days ago. You can see the moon coming out at the bottom left of the tree trunk (click on it for a bigger image).

Photo-Doodle by AtamaykaPhoto-Doodle by AtamaykaPhoto-Doodle by Atamayka

Ceramic illustrations and color

English Deutsch Español

Ceramic-Illustrations & Color-Lady Pearl
After taking my ceramic illustrations out of the kiln after their first firing (The process of my ceramic illustrations), I’m always eager to get hands on with the color part of the ceramic process.

For this group of small pieces of art I first washed them in a dark brown oxide which I then rubbed off so that the etched lines would remain dark and the rest of the ceramic canvas would stay light enough to add color.

Ceramic-Illustrations & Color-Oxide-Faces
Afterwards I painted the ceramic illustrations with underglazes. The process now is very much like a painter would produce his paintings, only that I use colors that will have to burn in order to see the final results.

I then finish some of the art pieces with a matt or glossy transparent glaze and fire them for a second time. Some other ceramic illustrations are fired for the second time without glazing. These last ones are painted afterwards with different colored glazes and are fired again for the third time.

It is real fun to mix and experiment with colors- oxides, underglazes, glazes, slips- without really accurately predicting what will actually come out of these ceramic illustrations; you can only predict after you’ve experimented an tested enough to know. Dark blue and green glazes are rose colored before firing, turquoise is grey and effect-colors are nothing compared to their looks after being fired.

Ceramic-Illustrations & Color-nikicurls
There’s always this great feeling of expectation at the moment of opening the kiln which I share with the rest of the family.

The process of my ceramic illustrations

English Deutsch Español

illustrated-tiles_0021 by Atamaykaillustratated-tiles_1 by Atamayka

I’ve combined my two passions –illustration and ceramics. These “paintings” are directly burnt onto their ceramic frames and will be ready to hang with a nail on the wall. Each one of these ceramic illustrations is hand-drawn and unique.

I just opened the kiln to take a peek at them; they’re still so hot I can’t get them out yet.
They make me smile when I see them; I hope they do the same for you once they’re ready.

Making these illustrations on clay is time-consuming, but I love it. Some ceramists call this etching, I always say I’m carving (even though I know it’s wrong), but regardless of which terms to use this is how it goes:

  • First I build my clay “canvas”
  • I wait a while until the clay dries a bit and gets leather hard
  • Then I draw -etch – my motive with a sharp instrument (like in the picture above), generally I use wooden picks
  • After this I have to wait until it dries really well before I make the first firing.

This is what I have until now. The next step in order to finish my ceramic illustrations is the coloring and glazing before I burn them again in the kiln.

Stay tuned for the finished objects!
(2009-11-2, you can find them here: “Ceramic Illustrations and color”)