
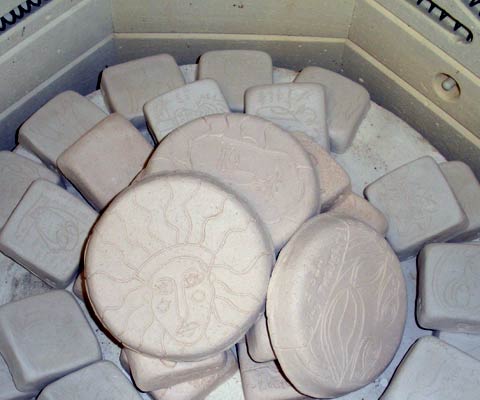
I’ve combined my two passions –illustration and ceramics. These “paintings” are directly burnt onto their ceramic frames and will be ready to hang with a nail on the wall. Each one of these ceramic illustrations is hand-drawn and unique.
I just opened the kiln to take a peek at them; they’re still so hot I can’t get them out yet.
They make me smile when I see them; I hope they do the same for you once they’re ready.
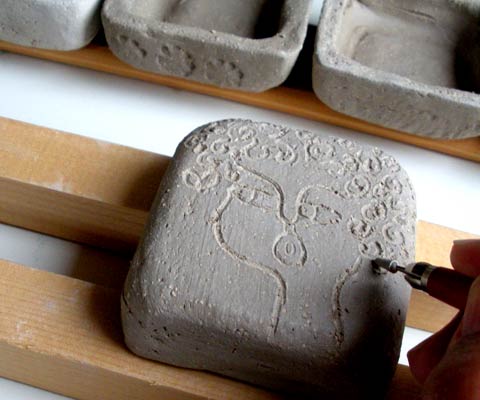
Making these illustrations on clay is time-consuming, but I love it. Some ceramists call this etching, I always say I’m carving (even though I know it’s wrong), but regardless of which terms to use this is how it goes:
- First I build my clay “canvas”
- I wait a while until the clay dries a bit and gets leather hard
- Then I draw -etch – my motive with a sharp instrument (like in the picture above), generally I use wooden picks
- After this I have to wait until it dries really well before I make the first firing.
This is what I have until now. The next step in order to finish my ceramic illustrations is the coloring and glazing before I burn them again in the kiln.
Stay tuned for the finished objects!
(2009-11-2, you can find them here: “Ceramic Illustrations and color”)