
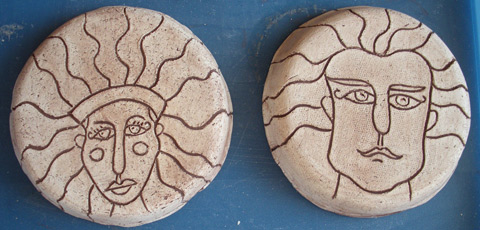
After taking my ceramic illustrations out of the kiln after their first firing (The process of my ceramic illustrations), I’m always eager to get hands on with the color part of the ceramic process.
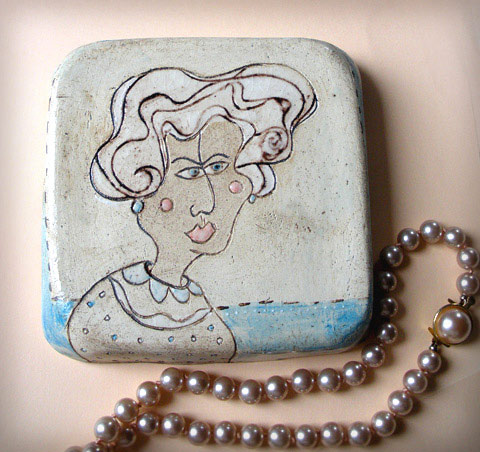
For this group of small pieces of art I first washed them in a dark brown oxide which I then rubbed off so that the etched lines would remain dark and the rest of the ceramic canvas would stay light enough to add color.
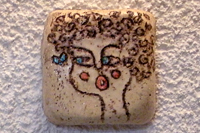
Afterwards I painted the ceramic illustrations with underglazes. The process now is very much like a painter would produce his paintings, only that I use colors that will have to burn in order to see the final results.
I then finish some of the art pieces with a matt or glossy transparent glaze and fire them for a second time. Some other ceramic illustrations are fired for the second time without glazing. These last ones are painted afterwards with different colored glazes and are fired again for the third time.
It is real fun to mix and experiment with colors- oxides, underglazes, glazes, slips- without really accurately predicting what will actually come out of these ceramic illustrations; you can only predict after you’ve experimented an tested enough to know. Dark blue and green glazes are rose colored before firing, turquoise is grey and effect-colors are nothing compared to their looks after being fired.
There’s always this great feeling of expectation at the moment of opening the kiln which I share with the rest of the family.
sorry my dear i first said atakama! never mind its still always u, urself… erst mal wow. komplimente. all my friends are artists! and u are very good one.
Thank you Gabi! <3